How It Works. It's EASY!
CHOOSE AN IMAGE
One of the great advantages of StixR is that you now can choose any image and make it any size you like. You can use your own photos or search the Internet for high resolution images, wallpaper, logos or whatever you desire. You will love the flexibility and the instant gratification as a fullsize image can be up in about an hour.
You want to search the Internet under images and then look under tools for images that are "Large". The bigger the better. If you are a novice, do not worry as you can check the output resolution in your pdf downloads at actual size. Wall decor is very forgiving as it is viewed from 4-6 feet away.
You want to make sure that you have enough pixel or data before printing. There are many programs that enhance the date as much as 2X or 4x which is more than sufficient.
IMAGE RESOLUTION
The bigger the image that you want on your wall, the bigger the file will have to be. A wall decor image is very forgiving as it is usually viewed for 4-6 minimum feet away. Thus, instead of highest resolutions of 300 dpi, wqll decor images can be printed in the 100-125 dpi range to be acceptable.
Images on the Internet search come at 72 dpi and a good rule here is that if you want to print a 16" x 20" image , then your file should be a minimum of 1600 x 2000 pixels.
If you do not have enough data, you can bump 2X or 4X with many AI image enhancer software.
UPLOAD THE FILE
Once you find your image, design and data, load the file to the software. You can drag and drop or choose from your desktop and then upload the image.
You can upload jpg, png or gif up to 20 mg. The image will come up in a tiled configuration to start.
WORKING WITH TILING SOFTWARE
Pick the sheets that you are working with. This would be the most likely 8.5" x 11" multiple sheets from the pull-down menu at the top.
You can then change the size of the image by adding the number of tiles and by changing the orientation of the tiles. These can be printed as portrait or landscape tiles.
During your configuration changes, you will see the overall size of the image change with the total number of StixR sheets that will be used. You will find these dimensions under the image box.
You can also use some of the design capabilities for effects and rasterization. Try them as you may want to use them in the future.
DOWNLOAD THE PDF FILES
Now that you have the correct tiling configuration with your desired size and resolution. you will click to GENERATE PRINT FILES. Then you will check the box for you are NOT INFRINGING ON ANY RIGHTS. Finally click on DOWNLOAD YOUR POSTER.
The files will be sent as PDF and will go to the inbox or desktop for printing. The print bleeds and overlaps are all built-in with respect to the pre-cut borders on the StixR sheets.
CONFIGURE YOUR INKJET PRINTER
StixR sheets work on any inkjet printer. They do NOT work on laser printers.
Bring up the print module just like normal printing. You want to always print in the highest resolution and on a coated paper setting. Every printer is different and will always work on normal paper settings. Coated settings lays down more saturated inks.
The settings on your printer should be set at .125 from each edge. You can test by printing an image on a full sheet to see that the .125 is constant around all edges. If this is not the case, change the printer settings. Most come with this setting already installed.
Make sure that you have checked this before starting to print on the StixR sheets.
PRNTING StixR SHEETS
Since the StixR sheets are a little thicker, these sheets will be loaded from the rear and by single sheet as most print manufacturers advise this procedure. They will go through the cassette, but most likely fed one at a time. Each printer is different.
Look for the marking on the backing paper. The fabric side is the print side. If you by chance print the wrong side, the ink will smear and not set up. You can peel a corner if you are still unsure which side to print. Place it correctly in the printer.
The ink dries almost instantly. However, dark areas with high saturation may take a few minutes to thoroughly dry. let the images dry for a few minutes before stripping, cutting or applying.
STRIPPING THE BORDERS
After the StixR sheet dries in minutes, then peel the edge of the sheet. An approximately .25 inches of pre-cut border can be lifter from each edge.There should be a small amount of ink printed on the border.
However, the outside edge of the entire image has a small white edge built into the software, almost like a small frame. This means that some of the edges will nor have the ink printed over the pre-cuts.
If you want this printed to the edge, you may want to cut the outer edge with scissors or ruler and straight edge.
LAYOUT ALL THE SHEETS
Make sure that all the sheets for your image have been printed. A good way is to lay them out. If any are missing any tiles, just reprint them for the printing module. If you reprint a section, make sure you use the same settings as you entered on the original print.
You are now ready to apply the tiles one by one to build your image.
APPLICATION SINGLE SHEET
Make sure that your wall is dust free and clean. Do not apply to freshly painted walls.
Single sheets are easy to apply. Simply pull them off the backing and tack it to the wall in the corners. Start in the middle with light pressure and push the air from behind the sheet. You can use an up and down stroke.
If you have a problem and it tacks to itself, be aggressive and pull it apart. The StixR sheets will not tear and stretches very little.
Go to APPLICATION in the menu for more instructions.
APPLICATION OF MULTIPLE SHEETS
Start with the first tile to the upper left and apply. Depending on your configuration, it is best to go left to right and then down and repeat this to the bottom.
You want to overlap each tile according to the printed images on each sheet. The overlaps are perfect on each sheet and they are uniform in width, as well.
Make sure that you match these as close as possible each and every time. You will get the hang of this in no time.
Make sure that all the edges and overlaps are gone over and secure.
BECOMES ONE IMAGE
If you want to change its location, make sure that the overlaps are secure. Then start peeling the image from the top left to the lower right. For this, you may want to get some help depending on how large the image is. You can always take it apart if you feel more comfortable with smaller tiles. In any case, you now have your StixR image on the wall.
Step back and you will be amazed that you did this all by yourself!
CARE AND STORAGE
Once the product is applied, there is't much to do. The presentation is a matte finish which makes it look like it is part of the wall. Definately not a shiny vinyl decal.
If you need to clean it, simply take a light damp cloth to to it.
Store the unused StixR sheets back into the plastic envelop in a dry and comfortable temperature out of direct sunlight.

Pick Your Image
Pick your favorite image that you would like to have on your wall. You can use one of your pics, social media, buy one or just search the Internet. You need a resolution minimum of 100 dpi.
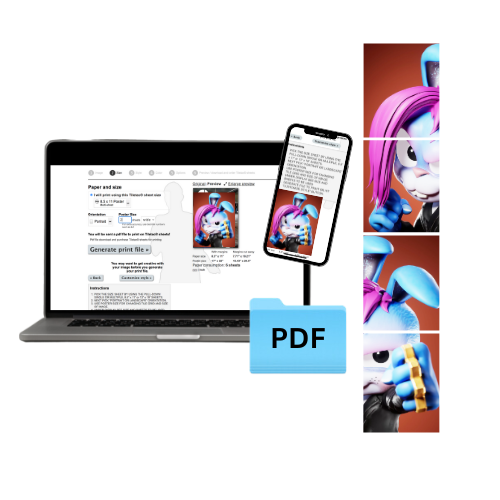
Work the Software
Size your image with the software using the 8.5" x 11" multiple page setting. You pick the number of sheets in the landscape or portrait orientation. You will get the hang of it. The software is free and easy to use.
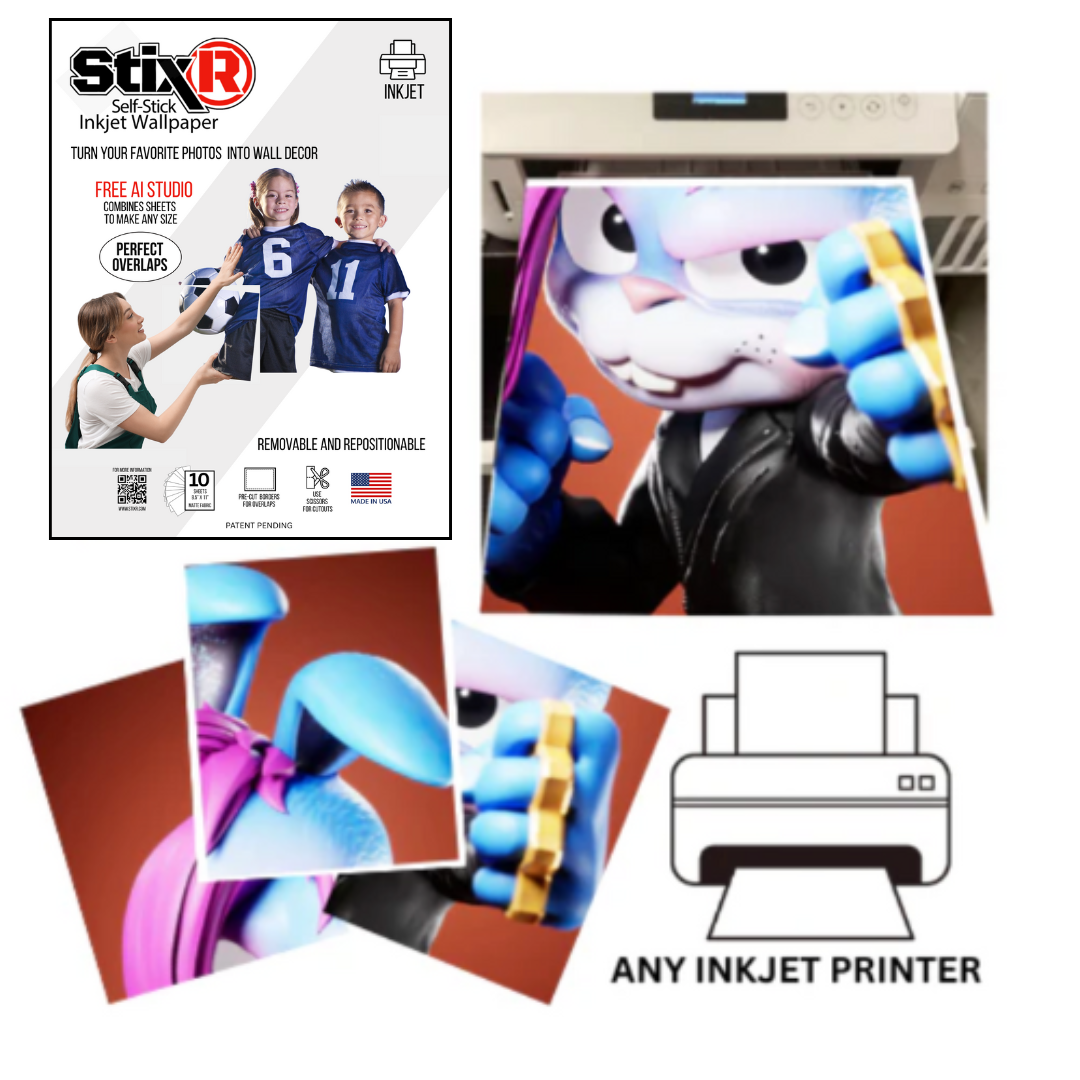
Any Inkjet Printer
TStixR prints on any inkjet printer. IT WORKS ONLY ON INKJET PRINTERS. NO LASER PRINTERS.
Print the downloaded pdf files in the regular print module. Use the coated setting if you have and also use the best print quality setting always for best results.
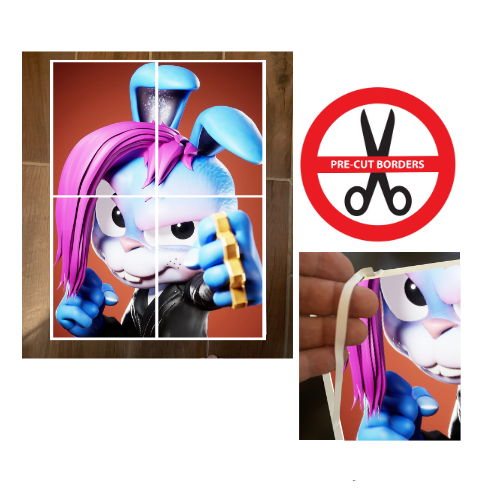
Ready to Apply
Check to see if you have all the sheets for your image. Lay them out to make sure. If you don't have one, simply reprint the missing one using the same settings you entered before.
Then strip away all the outside borders that are pre-cut. Now you are ready to apply.
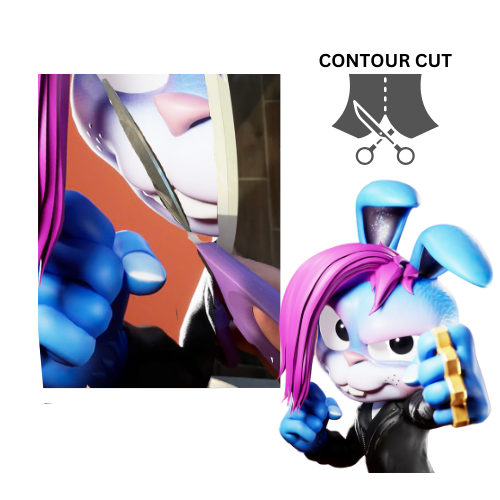
Try Cut-outs
You can also cut images out prior to application using a regular pair of scissors. Then lay out all the pieces to make sure you have them all. It may be a little trickier, but it will be well worth the effect.
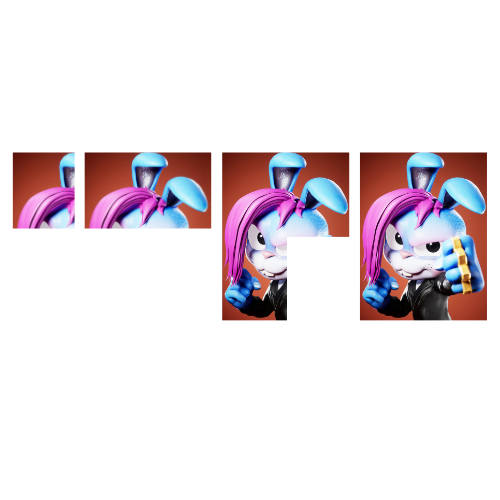
Application
You will be applying sheet by sheet to build your image. You can get more information on application above in the pull-downs or by clicking on APPLICATION in the main menu.
Start with the upper left and apply tiles across and down. When applying a cut-out, usually start with the big tiles and build from there.
It is easier than wallpaper and a lot more fun!
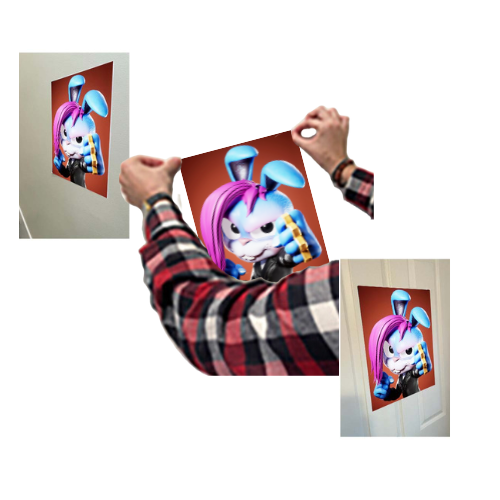
It's One Piece Now!
Once the complete image is applied, go over all the seams to make sure that they are secure. Your StixR image will become one solid piece to remove and reposition.
You have to see it to believe it!